Quickstart#
Important
drx is an unofficial, internal-only, experimental library; interfaces will change. We invite and encourage you to use and provide feedback, but ask that you not share externally and be mindful of the experimental, and unoffical nature when choosing to use on a project.
Install#
Confirm you can access the
drxrepo. Please reach out to Marcus Braun or Marshall Krassenstein for access and be sure to provide your GitHub username.drxrequires python >= 3.7Install
drxfrom source:python -m pip install git+https://github.com/datarobot/drx.git
drxdependencies will be automatically installed as needed.
Authenticating using HTTPS and the GitHub client
You will not be able to clone or pip install the drx repo without authenticating with
GitHub. A simple way to authenticate is using the GitHub command client (if installed).
From a terminal, execute the command gh auth login and follow the prompts to
authenticate. Once complete you should be able to successfully clone or pip install the
repo.
Authenticating using SSH
If you have previously setup SSH keys on GitHub and authorized them with DataRobot, you can install using:
python -m pip install git+ssh://git@github.com/datarobot/drx.git
Downloading and installing from source
Alternatively, you can install by first downloading the drx archived source from the
GitHub web interface after logging in:
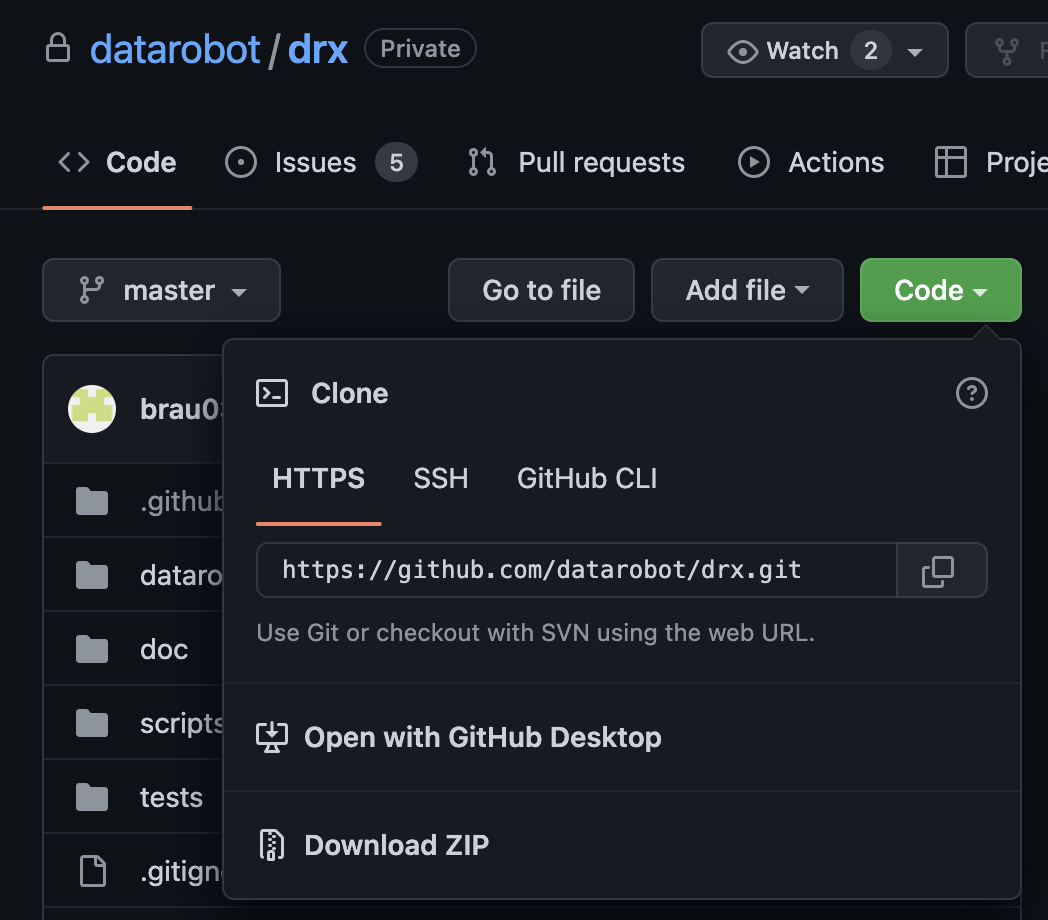
After downloading the source, you can install using
python -m pip install drx-master.zip
Configure#
There are three options for configuring drx:
Configuration with drconfig.yaml
Configuration with environment variables
In-line, programmatic configuration using
drx.Context()
When imported, drx will automatically attempt to read and initialize configuration
from ~/.config/datarobot/drconfig.yaml and the environment variables
DATAROBOT_API_TOKEN and DATAROBOT_ENDPOINT. If parameters conflict, environment
variables take precedence.
Optionally, the default prediction environment to use for deployments
can be defined by setting the key pred_server_id in drconfig.yaml, or
alternatively the environment variable DATAROBOT_PRED_SERVER_ID. If
omitted, the first prediction environment returned by
GET /api/v2/predictionServers/ will be used by default.
Programmatic configuration#
>>> import datarobotx as drx
>>> drx.Context()  # show current configuration
{'token': '***', 'endpoint': 'https://app.datarobot.com/api/v2', 'pred_server_id': '***'}
>>> drx.Context(token='foo', endpoint='bar')  # update current configuration
{'token': 'foo', 'endpoint': 'bar', 'pred_server_id': '***'}
>>> c = drx.Context()
>>> c.pred_server_id = 'foo_bar'  # alternative approach to update
>>> drx.Context()
{'token': 'foo', 'endpoint': 'bar', 'pred_server_id': 'foo_bar'}
>>> drx.Context(config_path='my_path/my_config.yaml')  # update from file
{'token': 'my_config_token', 'endpoint': 'my_config_endpoint', 'pred_server_id': 'my_config_pred_server_id'}
Use#
Check out some examples of what can be done with drx in the
Model, and Consume sections and consider reading
our FAQ. You can also check out the example notebook we have in the repo.
Upgrade#
python -m pip install --upgrade git+https://github.com/datarobot/drx.git